During the process of web development it’s highly important to organize the workflow and keep in touch with all members of the team. There are useful tools that allow visualizing all the stages of work and keeping track of each participant’s current workload. One of such tools is a popular Kanban board. It helps to control work processes and maintain steady progress, as you can see what stage of the project should be speeded up and which one is overloaded.
JavaScript Kanban Board is a great widget that can be used for creating powerful apps intended for managing the development process.
In this article we’ll describe the stages of creating a basic Kanban Board with the Webix library. Tasks on the board will be supplemented with tags, images and personal avatars for tasks’ assignees. There will be icons that allow opening a form for editing tasks. Besides, you’ll learn how to customize the styling of the board.
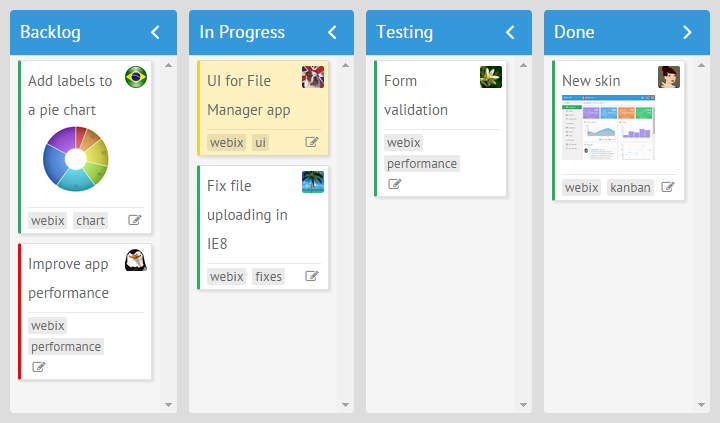
You can check the live demo of the ready Kanban Board.
Making preparations
To begin with, you should prepare an HTML file that will contain the source code files of the Webix library.
To prepare the app’s file:
- Create an “index.html” file in the “kanban_board” folder.
- Include the code files on a page. To simplify this process we will use files from Webix CDN. You need 2 JavaScript files: webix.js and kanban.js, and 2 CSS files: webix.css and kanban.css:
<script src="http://cdn.webix.com/site/webix.js" type="text/javascript"></script>
<script src="http://cdn.webix.com/site/kanban/kanban.js" type="text/javascript"></script>
<!-- css files -->
In case you need those files to be placed locally, you can download the “Kanban” package.
Specifying the structure
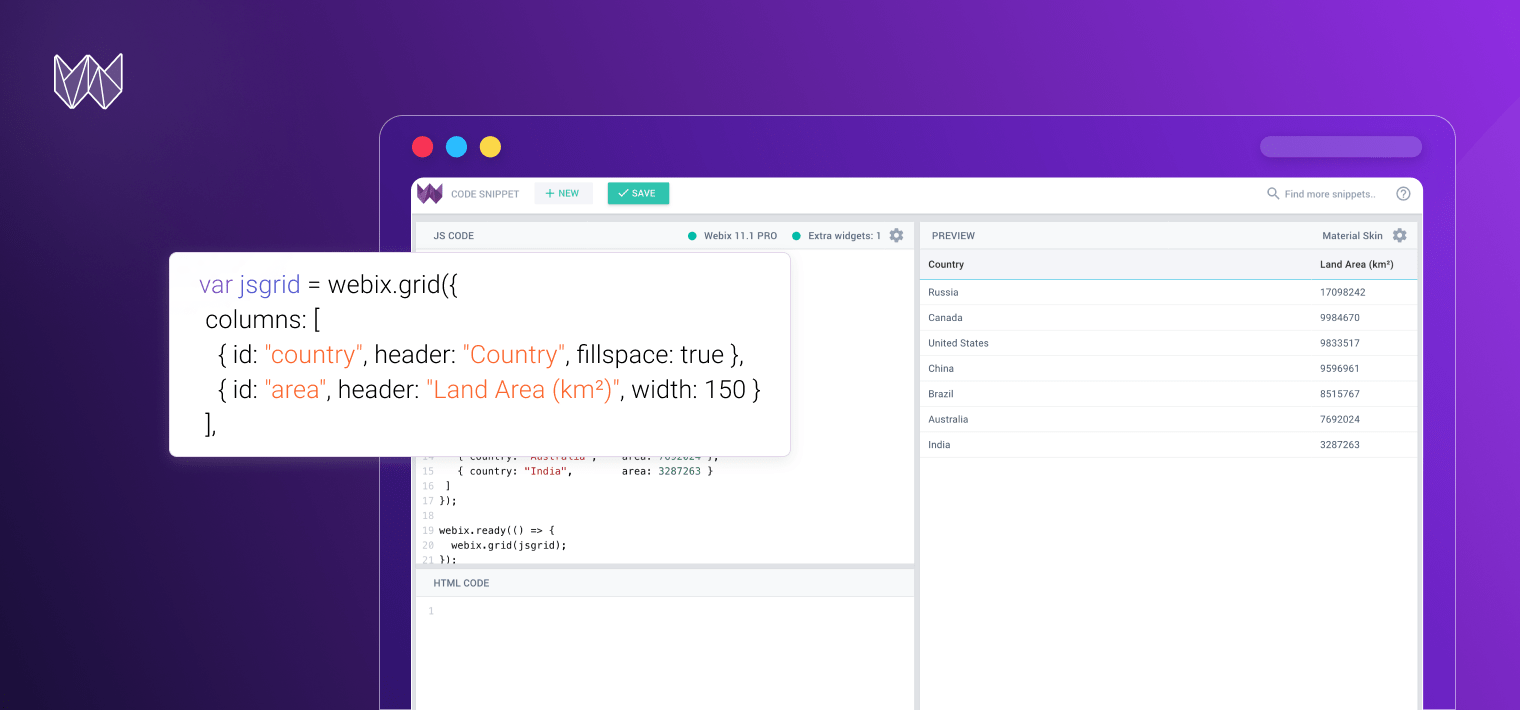
Now you are ready to specify the widget’s structure. First, initialize Kanban, by using the webix.ui() constructor. Then wrap the code in the webix.ready() function to ensure that it will be executed when the page is loaded:
//object constructor
webix.ui({
view:"kanban",
type:"space",
//the structure of columns on the board
cols:[
{ header:"Backlog",
body:{ view:"kanbanlist", status:"new" }},
{ header:"In Progress",
body:{ view:"kanbanlist", status:"work" }},
{ header:"Testing",
body:{ view:"kanbanlist", status:"test" }},
{ header:"Done",
body:{ view:"kanbanlist", status:"done" }}
]
});
});
The above code snippet clearly shows the Kanban Board’s structure initialization. The widget is defined by the view:”kanban” property. The type:”space” property specifies the type of layout border that Kanban will have.
Kanban Board consists of several columns, each of which has a header with the column’s name and a body. Each body contains a “kanbanlist” view and a status, according to which tasks are distributed to this or that list.
Loading data
After we’ve created the layout, it’s time to populate Kanban Board with data. You can use various data sources, but data items are stored in Kanban as JSON objects.
We will specify data set by means of using the url property. The url refers to the JSON object that will be loaded into the board after its initialization.
Each task in the data set should contain the id and status params. The status param defines which column the task will be put into. You need to create a file “data.js” in the “kanban_board” folder and add the following code into it:
{ id:1, status:"new", text:"Add labels to a pie chart"},
{ id:2, status:"new", text:"Improve app performance"},
{ id:3, status:"work", text:"Create design of the app"},
{ id:4, status:"work", text:"Fix bugs in the code"},
{ id:5, status:"test", text:"Test the new feature"},
{ id:6, status:"done", text:"Add a new feature"}
]
Now specify the name of the data file as the value of the url property in the “index.html” file, right after the columns structure:
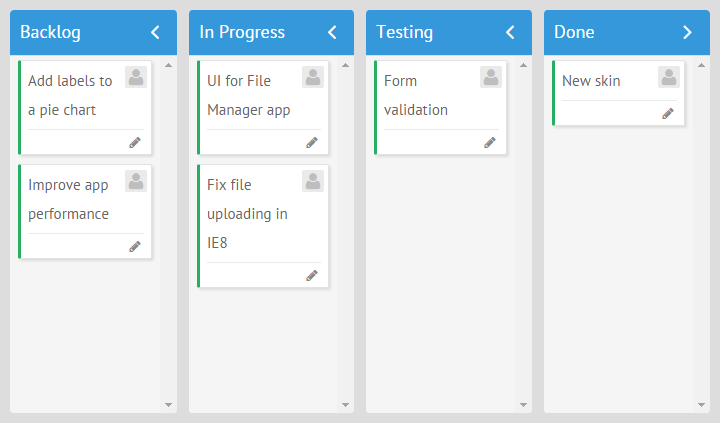
Open the “index.html” file in a browser and if you’ve done everything right, the result will look like this:
Customizing the content of tasks
Each KanbanList allows configuring dimensions and templates of its items. It is implemented in the type of KanbanList. Thus, in order to customize the content of tasks, we need to set the webix.type() constructor and set the name of the type that will be used for KanbanList views.
name: "cards", // type name
...
}
});
Then we should apply the “cards” type for the lists:
...
cols:[
{ header:"Backlog",
body:{ view:"kanbanlist", status:"new", type:"cards" }},
...
]
});
});
The main content of data items is specified in the templateBody. By default, it displays the text of the tasks.
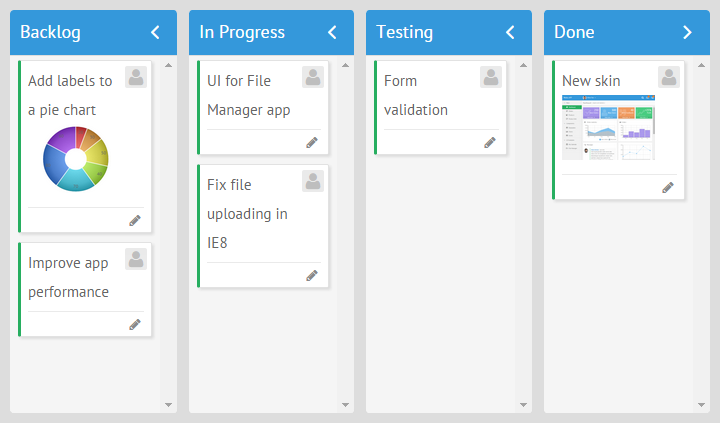
Sometimes you may need to use not only text in the body of a task, but also some other HTML content. We will display screenshots in tasks in addition to the text in our Kanban Board. For this purpose, let’s redefine the templateBody in the webix.type as follows:
var html = "";
html += "
<div>"+obj.text+"</div>
";
if(obj.image)
html += "<img class="image" src=""+obj.image+"" />";
return html;
},
So the above code allows adding images under the text of the tasks. Now let’s create a folder with a couple of images in the “kanban_board” folder and set paths to them in the definition of data items (“data.js” file). The paths are set by means of the image property:
{ id:1, status:"new", text:"Add labels to a pie chart", image:”imgs/pie_chart.png"},
...
{ id:6, status:"done", text:"New skin", image:"imgs/new_skin.png"}
]
After updating the page in a browser, you can enjoy the result:
Setting avatars
Our next step is to define an avatar for a task’s assignee using the templateAvatar in the type for Kanban Lists. We will apply image elements in .jpg format as avatars. So we need to create a folder with avatars for tasks’ assignees and set the path to this folder in the template like this:
if(obj.personId){
return '<img class="avatar" src="avatars/'+obj.personId+'.jpg" />';
}
return "";
}
In the data.js file set the personId property in the definition of tasks. This property will identify tasks’ assignees. The names of image files should coincide with person ids:
[
{ id:1, status:”new”, text:”Add labels to a pie chart”, personId:1, …},
{ id:2, status:”new”, text:”Improve app performance”, personId:2, ….},
…
]
In order to make avatars to fit the size of their divs, specify a style that will set width and height of avatars to 100%:
.avatar{<br />
width: 100%;<br />
height: 100%;<br />
}<br />
</style>
The following picture illustrates the result:
![]()
Specifying tags
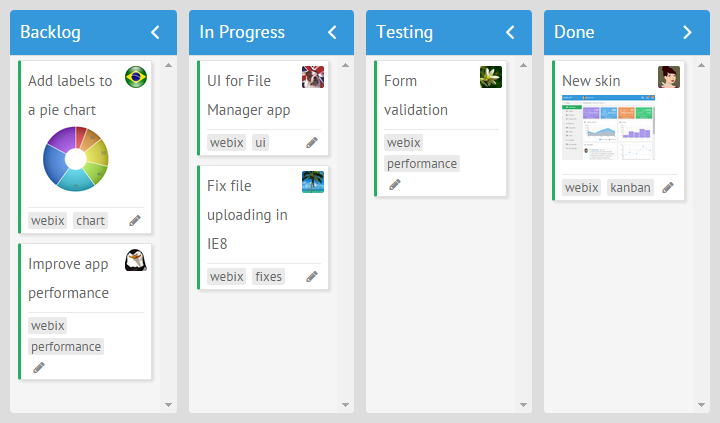
In order to easily find tasks united by the same topic, you can set tags for them.
Since we use a data.js file as a data source, we’ll set the tags property for the items defined in this file and define a comma-separated list of tags as its value:
{ id:1, status:"new", text:"Add labels to a pie chart", tags: "webix,chart", ...},
{ id:2, status:"new", text:"Improve app performance", tags:"webix,performance"...},
]
Tags will appear at the bottom of tasks description:
Adding icons
Webix Kanban Board allows adding icon buttons for tasks. At this stage we will create the “Edit” icon. You can specify some code that will open an editing form by clicking this icon.
So we’ll start by specifying the icons template in the type parameter for Kanban Lists.
name: "cards",
...
icons:[
{
id: "edit",
icon:"edit",
tooltip: "Edit Task"
}
]
});
Then we’ll add a click handler function that will call an editing form. In order to refer to Kanban elements, specify the id of Kanban board in the webix.ui constructor:
...
id: "myBoard",
...
});
We will put the code for the form initialization into a separate file called form.js. In this file we will also define the showForm(item) function that will render the form on the page. This function will be called by clicking the “Edit” icon:
name: "cards",
...
icons:[
{
id: "edit",
icon:"edit",
tooltip: "Edit Task",
click: function(e,id){
var item = $$("myBoard").getItem(id);
// shows item data in a form (see form.js)
showForm(item);
}
}
]
});
The result of clicking the Edit icon is shown below:
![]()
Changing the color of a task’s border
At this step we will set a different color for the border of tasks on the board. The default color of the tasks’ left border is specified in the css class .webix_kanban_list_content by means of the border-left property.
To set a new color for all tasks you can redefine this css rule in the kanban.css file:
...
border-left: 3px solid #27ae60;
}
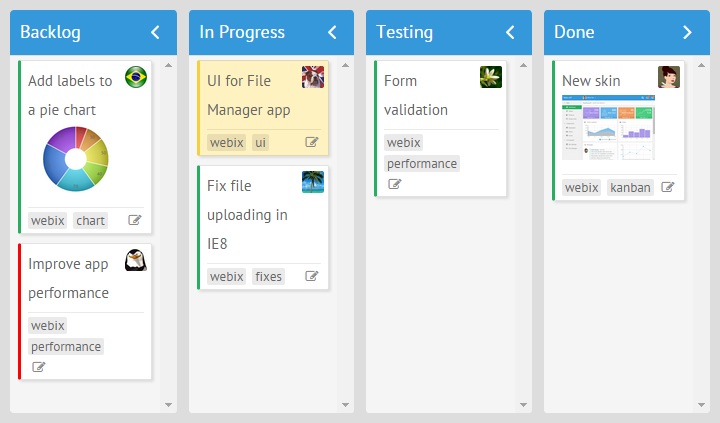
You can also change the color of a separate item by defining the color property in the item’s data. Let’s specify the red color for the border of the 2nd task:
{ id:2, status:"new", text:"Improve app performance", color:"red"...}
]
Setting the background color for a task
One more useful thing we can do with our Kanban Board is to highlight urgent tasks or the ones that require some specific attention.
For this purpose we need to apply a specific css class to the necessary item by means of setting the $css property for it. This class will be added to className of an item element.
In the index.html file we will specify a new css class called “critical” and set a necessary color in the background-color property. The css code is given below:
.critical .webix_kanban_list_content{<br />
background-color: #fff2c1;<br />
border-color: #e0d7b7;<br />
border-left-color: #f5cf3d;<br />
}<br />
</style>
Let’s highlight the 3rd task with the yellow color. Open the data.js file and add the $css property with the value “critical” to the line with the definition of the 3rd task:
{ id:3, status:"work", text:"UI for File Manager app", $css: "critical" ...},
...
]
In the picture below you can see how the appearance of Kanban Board changed after the latest modifications had been made:
Analyzing bonuses of Webix Kanban
We’ve created a beautiful Kanban board for managing tasks. As you can see, Webix Kanban allows not only creating text descriptions for tasks, but also applying avatars, icons and tags for them, setting html content inside of tasks, customizing the color of tasks’ borders and highlighting important tasks. So this tool has all the necessary possibilities for creating a detailed and clear task description. Each task has an obvious status and can be supplied with a scheme or a screenshot, if needed.
Webix Kanban Board will definitely help to control the workflow and organize productive teamwork. It lets distribute tasks evenly between the stages of development and monitor the workload, which allows avoiding bottlenecks as well as deadlocks.
