Everyday working procedures typically involve creating plans and their implementation. If you want to organize all the activities properly and manage tasks efficiently, then it’s a good idea to make use of dhtmlxScheduler. In this article, we’d like to refresh your knowledge on the integration of Webix with dhtmlxScheduler.
Update of October 8, 2020
With the release of Webix 8.0 the original JavaScript Scheduler component has become available. Now Webix users can enjoy the native Webix Scheduler. This component is created according to the canons of the Webix framework and it is intended for the integration into any business applications regardless of their architecture and system platform.
You can download the free version of Scheduler by following this link. You can find more detailed information on the Scheduler home page, on the JS Scheduler documentation page or in the Scheduler source code sample catalog.
We’ll share a little tutorial that will allow you to use dhtmlxScheduler in your Webix applications. This JavaScript event calendar component provides users with a wide range of views and useful features. It allows creating lightweight and intuitive online scheduling applications that can be used in a wide range of solutions.
Creating a Basic Scheduler
Let’s define what we’ll need to build our app. Besides the Webix library, we’ll use a free collection of third-party integrations that are available on this GitHub repo. You can use the following command to download it to your project folder:
git clone https://github.com/webix-hub/components
Now, open the index.html file and include the required JavaScript and CSS files:
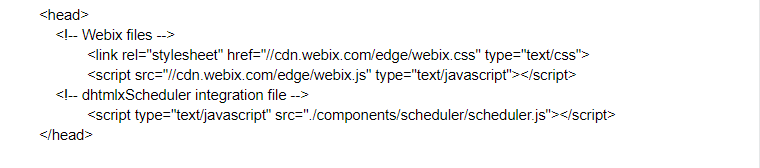
After these preparations are done, we can create a new Webix view, “dhx-scheduler”, that wraps dhtmlxScheduler and allows to communicate with it.
To fine tune the widget, you can add the following properties to the configuration object:
● date (string or object): defines the start date of the calendar;
● mode (string): defines the timeline presentation – day, week or month. By default, the “week” mode is set;
● init (function): specifies logic to be performed for component initializing;
● ready (function): specifies code to be executed when the component is fully ready. Here we will parse some predefined events from the inline dataset.
There are also additional ways of loading and storing data when you work with dhtmlxScheduler.
Here’s an example of code that allows you to initialize dhtmlxScheduler in Webix apps:
//create a new view
view:"dhx-scheduler",
//use the current date as the default one
date:new Date(2019,1, 27),
//scheduler config
init:function(){
this.getScheduler().config.first_hour = 8;
},
//add some default events
ready:function(){
this.getScheduler().parse([
{ text:"Meeting", start_date:"02/27/2019 14:00",
end_date:"02/27/2019 17:00" },
{ text:"Conference", start_date:"02/28/2019 12:00",
end_date:"02/28/2019 19:00" },
{ text:"Interview", start_date:"03/01/2019 09:00",
end_date:"03/01/2019 10:00" }
], "json");
}
});
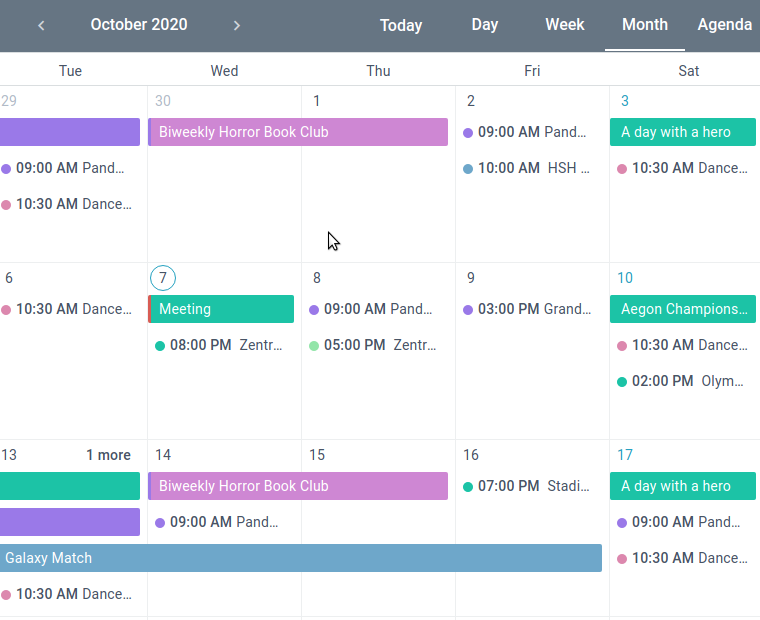
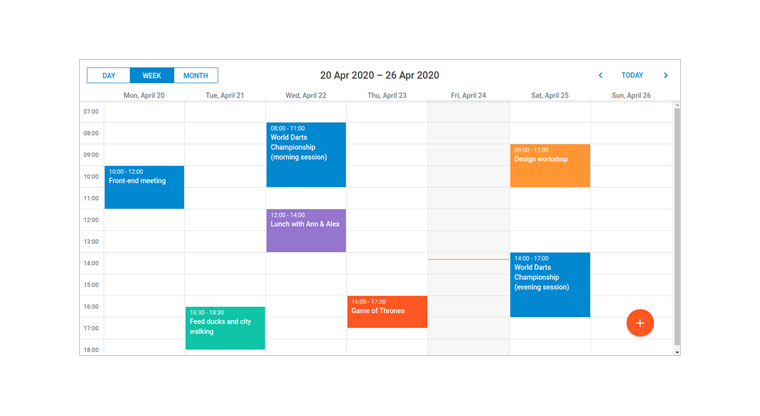
Now, if you open your scheduler app in the browser, you’ll get the following result:
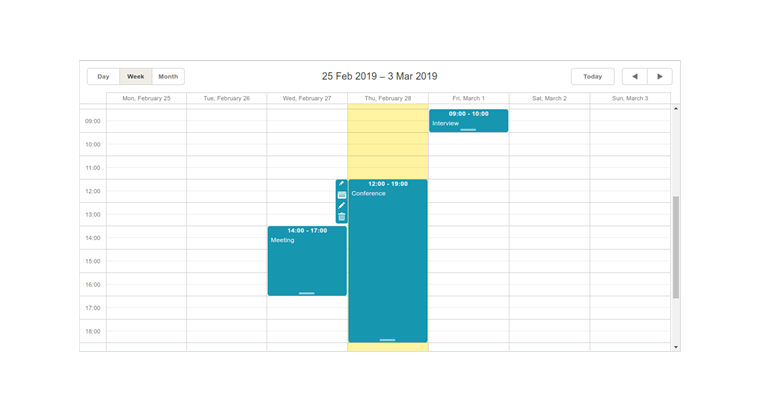
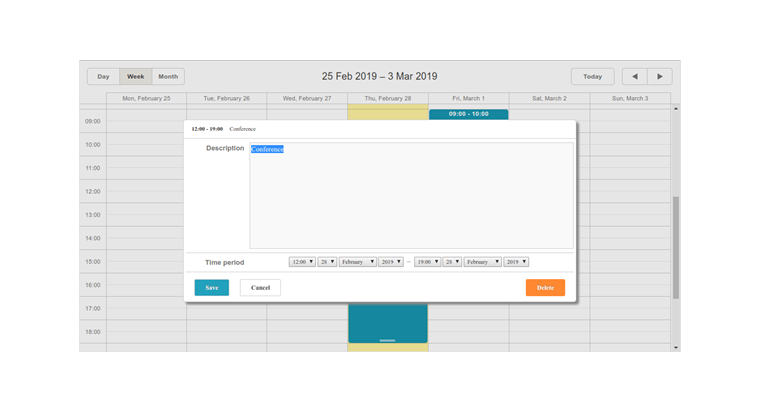
There’s a calendar grid with three events that we created earlier. You can switch between the available views (Day, Week, and Month), create new events by double-click and edit the existing ones:
Everything looks pretty useful, but this example doesn’t cover the full potential of dhtmlxScheduler. Let’s see, what features you can add to extend the functionality.
Where to Go Next?
dhtmlxScheduler is an easy-to-configure component. You can change its appearance the way you need and use one of the many features it provides. For instance, besides the default set of views available in the example above, you can use Year, Timeline, Agenda, Units and Grid views. To learn how it can be done, you can check the documentation page that contains tons of step-by-step guides. In this article, we’ll focus on some of them and describe what benefits they can provide.
With dhtmlxScheduler, you can create Recurring Events that can be repeated on a daily, weekly, monthly, or yearly basis:
After you add this feature to your scheduler, the event editor window will provide users with additional functionality:
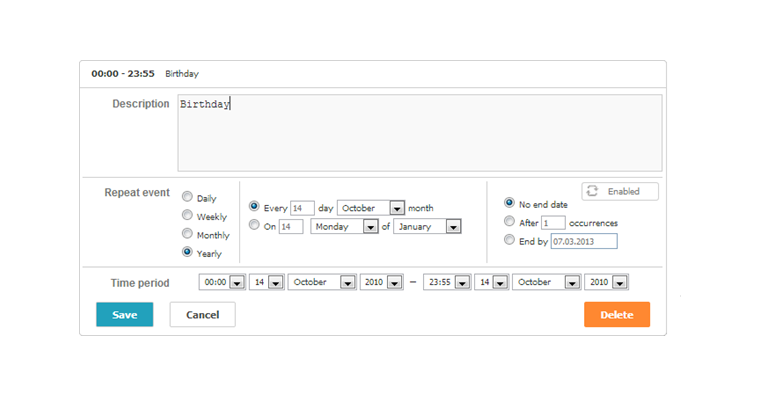
With its help each user will be able to define necessary parameters to set up events recurrence. This feature, for example, can be used for planning daily Scrum meetings. To learn more, check the documentation page.
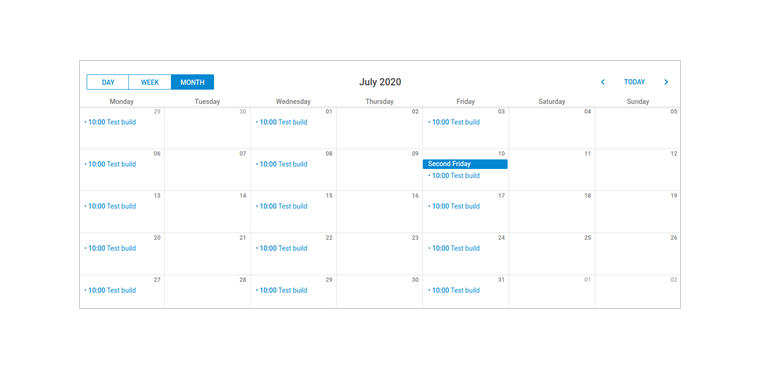
Mini Calendar allows simplifying the navigation through the calendar grid:
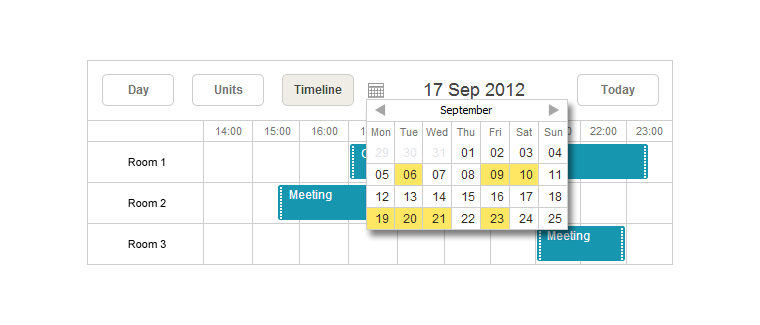
This small special extension provides the ability to render a month view in an HTML container on a page. You can either display this calendar along with the scheduler or make it a popup. Such a feature will help to choose a date and see the assigned events. To learn more, check the documentation page.
For the users that travel a lot, the possibility of integration with Google Maps can be pretty useful:
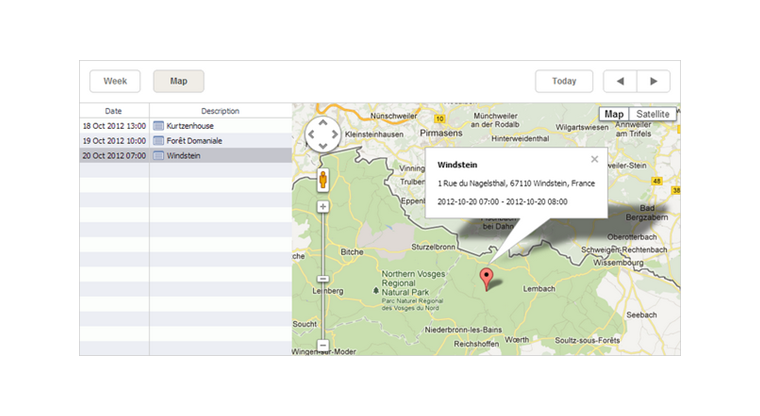
With this feature, users can associate locations with particular calendar events. When a user creates a new event, there’s the possibility to specify a location in the event description window. As a result, the event will appear on the map. To learn more, check the documentation page.
The Timeline view allows you to visualize events horizontally with separate timelines arranged from left to right:
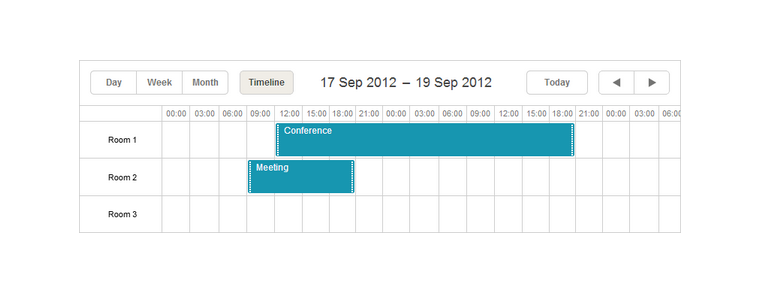
This option will be useful for monitoring the tasks assigned to particular employees or plan the rental of premises and cars, for example. The horizontal scroll feature provides the most convenient solution for surfing the calendar within impressively vast time intervals. The smart rendering feature helps to work with the Timeline view without any lags despite the number of events rendered. To learn more, check the documentation page.
Conclusion
Now you can see that using dhtmlxScheduler in Webix web applications is simple. We hope you’ll find this tutorial useful for creating your calendar apps with the help of dhtmlxScheduler!


