Day by day Webix evolves and dozens of new features appear with every release. But while the framework is constantly improved, something always stays the same.
Let’s talk about the very basic and the most important Webix feature – component positioning and sizing.
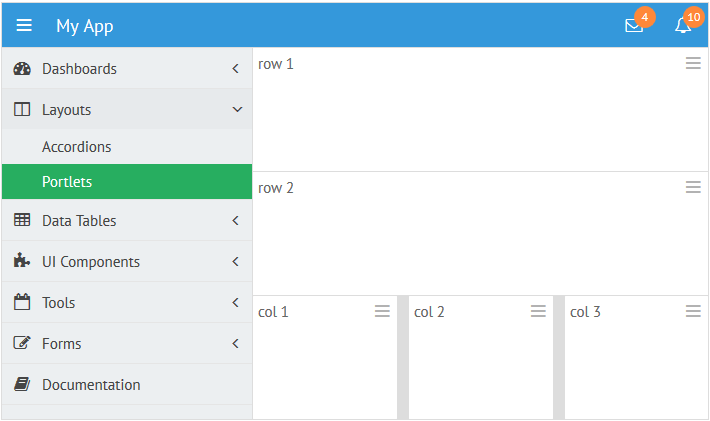
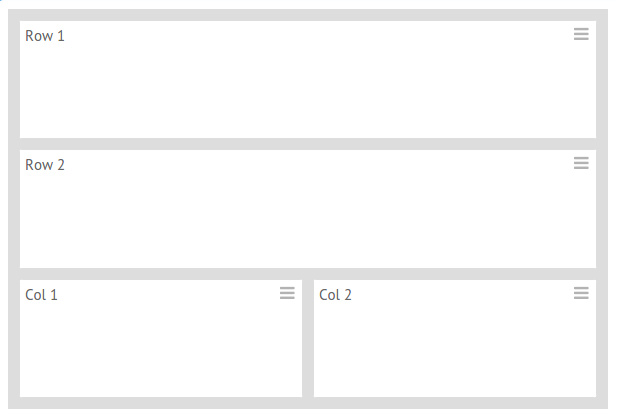
Layout. Basics.
The main Webix way of the element positioning is dividing the page into rows and columns.
The basic layout can be created with the help of the same-name Layout widget. And you can place any of the numerous Webix widgets into any Layout cell: