A possibility to add a location search mechanism to web pages is a frequently requested feature. Webix Library offers a simple and elegant solution for embedding online geographical maps into the web application.
This article will tell you how to add popular web maps such as Google, Nokia, OpenStreet and Yandex maps into a Webix app with just several lines of code.
Building Map View
Firstly, you should download the wrapper for the needed map from Webix open repository of helpers that connect your app to third-party applications without linking to them directly. Note that these extensions are not included into the default library package.
Secondly, once you’ve downloaded the necessary code file, you should include a link to it to the head section of your document. For instance, to embed Google Map you link to:
Note that Nokia map requires setting authentication tokens which you can get while registering a Nokia account. See further details in the documentation.
The code snippet below will instantiate a map:
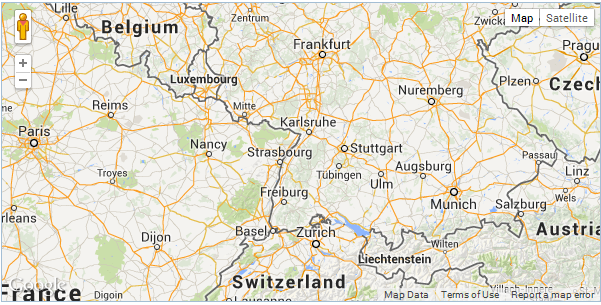
webix.ui({
view:"google-map", // or "nokia-map", "yandex-map", "open-map"
id:"map",
zoom:6,
center:[ 48.724, 8.215 ]
});
All map constructors are identical differing only in the map view name. The following properties define the initial position of the map:
- id defines the component unique ID;
- zoom defines how close you’d like to be to the Earth surface;
- center sets the center of the map. It’s an array of two elements ( latitude and longitude ) with comma delimiter.
Locating the Map
A map can be placed into the document body and take the whole available space as the above mentioned code will do. It is also possible to embed a map into any HTML element or a Webix window.
To render a map into an HTML element, provide a container to your map stating the ID of the needed element:
//
<div id="mydiv"></div>
webix.ui({
container:"mydiv",
..//map config
});
To add a map inside a Webix Window, use the following configuration to init the window component. The map will be placed into the window body:
view:"window", id:"mapwin",
body:{ ... }, //map config
head:{....}, //place for toolbar
top:50, left:50,
width:600, height:500 // dimensions and positioning of the window
}).show();
Now, we’ve got a responsive map on the page. Note that Webix only places a map on the page while at the same time you can use API of each map (e.g. Google Maps API) to perform various operations with them.
Conclusion
Webix map integration is simple and handy. It requires minimal coding and the configuration is almost identical for different maps.
To get more detailed info about Webix integration with online geographical maps, check the documentation article on this issue.


