No one is exempt from making mistakes and getting browser crashes. This can be really annoying, if you have worked hard for a long time filling in an extremely complicated form, looking for data in a big spreadsheet with complex filters or have just set a nice and convenient layout scheme to work on a web page — and everything is lost just because the page is reloaded or closed. It is a good idea to save and store temporary data to rescue your users from such a disappointing experience and help them not to lose their time doing everything all over again or readjusting their working space every time they open the same page.
If you create applications with forms, tables and complex layouts and want to help your end-users restore the data that haven’t been saved locally or sent to a server due to some accidents and mistakes (page reloads, browser crashes, laptop shutdowns, etc) or just want to let them preserve the state of an app for any other reason, I will show you how.

Common Data Saving
Most Webix data components have a built-in means of saving data to a server or locally that allows doing this quite effortlessly. Such components as DataTable, List, Tree, Organogram and their derivatives have the save property that takes the URL you want to save your data to as its value:
view:”list”,
//config
url:”myprecious.php”;
save:”myprecious.php”;
});
The data is automatically updated on the server every time you change the items in the data component.
If you want more flexibility, you can attach functions to component events to process the data before sending it to a server via Ajax POST request or saving it locally. This is the way Form and input data are typically saved (apart from pushing the data to the component it is bound with).
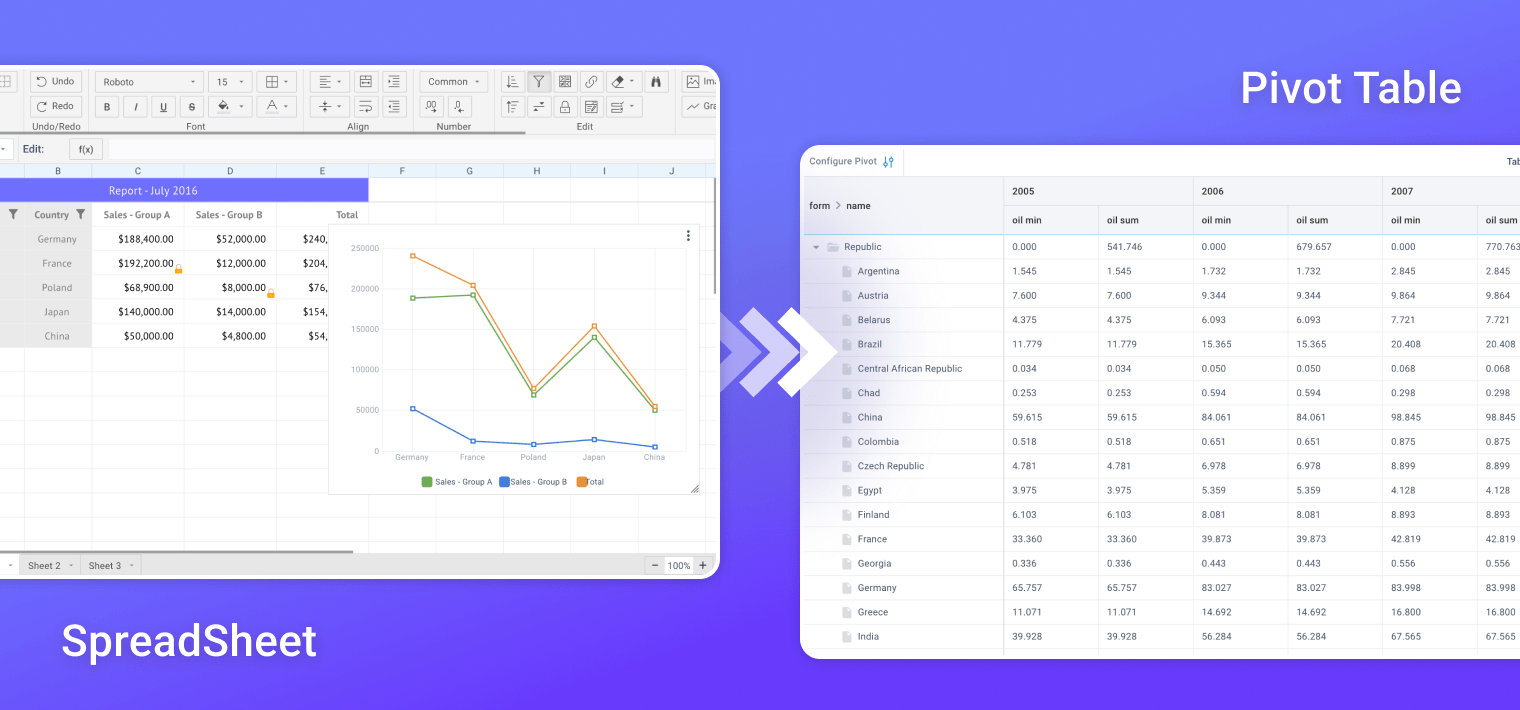
Besides actual data, Webix SpreadSheet allows saving and loading the current state of the datatable (the sizes of rows and columns, spans, filters and conditions, the style of cells, and math formulas).
You can see, that saving component data and, in some cases, even styles and filters on demand isn’t a problem. However, this doesn’t save the current state of the app and temporary input, so this isn’t the solution we crave. Be patient, in a few seconds I’ll show you the first way to achieve this glorious aim.
Saving Sizes of UI
If you create apps with different complex layout components like Accordion, you might want to save their state. Let’s create a simple layout with resizers, and I’ll show you how to restore its visual scheme after a page reload.
id:"top",
rows:[
{ type:"header", template:"Resize and Save" },
{ view: "resizer" },
{
cols: [
{ template:"You can write any code here"},
{ view: "resizer" },
{ template: "And here" }
]
},
{ view: "resizer" },
{ template:"And even here" }
]
});
And now let’s add a few lines of code to make the visual scheme renewable:
if (state)
webix.UIManager.setState(state);
$$("top").attachEvent("onDestruct", function(){
var state = webix.UIManager.getState($$("top"), true);
webix.storage.session.put("appState", state);
})
In the code snippet shown above, I made use of the Webix storage local and Webix UIManager objects to save the state of the app in the variable using the local storage on unloading the page and restore it when the page is loaded again.
Webix UIManager allows saving the current visual scheme of the component, its ‘state’, with the following methods:
getState() – to capture the current state of a Webix application;
setState() – to set the saved state for the application.
Methods put() and get() of the local store save and restore the state, correspondingly. You can also use the session store, if you don’t want to preserve data on browser closing.
In the above example, I stored data locally, but you can easily store it on a server if you send an Ajax request instead of working with the Webix storage objects.
Now I’ll create a more complex layout to show you how to track active tabs in case of a multiview:
id:"top",
cols:[
{ header:"sidebar", body: {
view:"list", data:list_data
}},
{ template:"Left"},
{ view:"resizer"},
{ rows: [
{ view:"tabbar",options:["Tab A", "Tab B"],
multiview:true, value:"Tab A" },
{ view:"multiview", animate:false, cells: [
{ id:"Tab A", template:"Content A" },
{ id:"Tab B", template:"Content B" }
]}
]}
]
});
var state = webix.storage.session.get("appState");
if (state)
webix.UIManager.setState(state);
$$("top").attachEvent("onDestruct", function(){
var state = webix.UIManager.getState($$("top"), true);
webix.storage.session.put("appState", state);
})
As you can see, we are using exactly the same code to save a more complex structure. Try moving the resizers, selecting the second tab of the multiview or hiding the sidebar, then reload the page – and you’ll see that everything you did is intact.
Saving State of a Datatable (hidden columns, sizes, filters, etc.)
Now let’s see how to save the state of a datatable and restore it after page reload. I’ll create a datatable and populate it with data:
{ id:"1", fname: "Jane", address: "7635 Garfield Drive South Lyon, MI 48178", year: "1991"},
{ id:"2", fname: "Alex", address: "85 Airport St. Mebane, NC 27302", year: "1878"},
{ id:"3", fname: "Mary", address: "14 West Lafayette Dr. Utica, NY 13501", year: "1989"},
{ id:"4", fname: "Edward", address: "47 Meadowbrook Drive Massapequa Park, NY 11762", year: "2001"},
];
var grid = webix.ui({
view:"datatable",
id:"datatable",
columns:[
{ id:"id", header:"ID", sort:"int", width:30},
{ id:"fname", header:"First name", sort:"string"},
{ id:"address", header:"Address", sort:"string", fillspace:true },
{ id:"year", header: ["Born",{content:"selectFilter"}], sort: "int" }
],
resizeColumn:true,
resizeRow:true,
select:"row",
data:people
});
In the snippet given above, I created a datatable with sorting and filtering. Now let’s make it renewable.
webix.storage.local.put("state", grid.getState());
});
var state = webix.storage.local.get("state");
if (state)
grid.setState(state);
Here, apart from the local object, I used the getState() and setState() methods of the grid object to save and restore the state on the page unload.
The same technique can be applied to TreeTable and DataTree.
Saving State of a Form (Values)
At last, we’ve come to the trickiest part of our quest to save temporary data, at the end of which you will create the Eternal Form that will restore all your unsubmitted input values and grant you eternal glory in the eyes of your end-users.
Let’s set off, guys:
name:"safe-form",
$init:function(obj){
//code
this.attachEvent("onDestruct", function(){
var name = this.config.saveName;
if (name){
if (this.isDirty()){
webix.storage.session.put(name, this.getValues());
}
}
});
}
}, webix.ui.form)
Here I created a new view safe-form on the basis of webix.ui.form and enhanced this mighty tool with the ability to restore its input on init. As you can see, we save the name of a form during the destruction of the form, and if the form isDirty, its contents are saved to the local storage (again I remind you that it could have been an Ajax request to send the input to a server as well).
And finally, the Eternal Form itself:
name:"safe-form",
$init:function(obj){
var name = obj.saveName;
if (name){
var data = webix.storage.session.get(name);
if (data)
this.$ready.push(function(){ this.setValues(data) });
}
this.attachEvent("onDestruct", function(){
var name = this.config.saveName;
if (name){
if (this.isDirty()){
webix.storage.session.put(name, this.getValues());
}
}
});
}
}, webix.ui.form)
Here I added the restoring logic. If something has been put into the form, it will appear again as you reload the page and the form is ready.
Conclusion
O Captain! my Captain! our fearful trip is done, the ship has weather’d every rack, the prize we sought is won… Now you can create web UI components that can save temporary data and the current state of a web app, and your end-users can forget about worrying about their precious form input or any changes they make to the content or UI visuals. From now on, if you want to create a layout, a datatable or a form that will renew their state, you know how.
There is a drawback in these techniques, though: now you need to write extra code to reset the component back to its initial state, but that’s another story.
For further reading on the subject, you can resort to:


