Introduction
Day by day the world is getting faster. News is being spread around the world within minutes while the search for information is reduced just to surfing the Internet. Nowadays developers don’t spend months or years on the implementation of new ideas, this process can take just a couple of days or maybe weeks. At the same time, the process of developing web apps and sites is going up to a new speed level.The tools of building websites are getting smarter and even easier to use.
Code generators, autocomplete, code analyzers, libraries and frameworks have settled down in the developers’ life. They let reduce the time of site development to the minimum. The Internet itself is developing together with these tools.
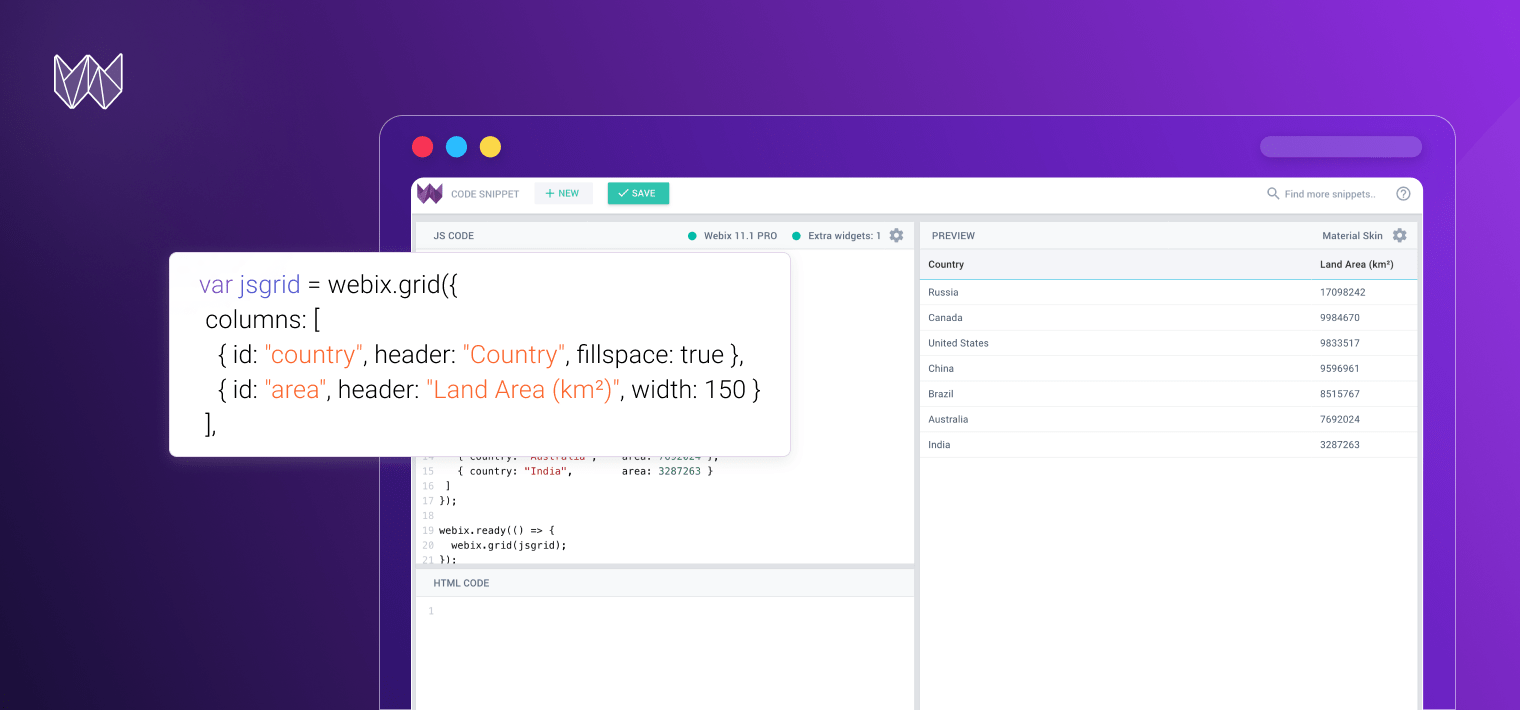
Not long ago sites have presented static data while their functionality has been rather minimal. Today sites are fully-functional applications which allow performing the actions that earlier have been available on desktop only. One of the tools for fast building of a web app’s interface for both mobile and desktop devices is Webix, a JavaScript UI widgets library.
Let’s consider an example of creating a site aimed for announcing future conferences on front-end development with the help of Webix and a Java-framework Struts 2. It will look as follows:

The task is to develop a site that will represent a list of forthcoming events concerning front-end development. Besides, it’s necessary to implement the possibility to add new events, as well as reports into each event and the ability to look through the contacts info.
To implement the interface we will use JavaScript UI widgets library Webix, while the server side will be created by means of Java-framework Struts 2 and Hibernate with MySQL.
IDE Eclipse will be used for developing. At the same time, any other IDE intended for Java can be used. To make a Java-app available for users a web-server is needed. Apache Tomcat is a popular and rather easy to use server.
Creating an application and configuring Struts 2
So let’s create a new Maven-app with maven-archetype-webapp archetype. For this purpose open in Eclipse: File – New – Project. In the opened window look for Maven Project, select it and click “Next”.
Then we should choose where we’ll create our project: either in a workspace or in any other place. Make sure that the option “Create a simple project” is switched off. In the following window choose the archetype of the Maven-project. In our case it should be maven-archetype-webapp. Select it and click “Next”.
The last and the most important step is to choose the name and the version of the project! Each project in Maven is identified by the pair: groupId/artefactId. Usually, the company’s name is used as groupId and the project’s name as artefactId. My settings look like this:

Click “Finish” and our app is ready! Let’s make sure that it works. Create a test file src/main/webapp/index.jsp with the context as follows:
Our app will be here!
I highly recommend to use the UTF-8 coding for the Cyrillic sites. In the properties of each created file set the UTF-8 coding manually, if any other coding has been set.
After that run the app: make a right click on the project, choose “Run As – Run on Server – Tomcat v7.0” at localhost (or some other web-server that you use) and click “Finish”. If everything has been performed well, by opening the path http://localhost:8080/MyApp/ in a browser you will see the following test page:

It’s possible that on the page index.jsp an error will be highlighted in the Eclipse project. To fix it go to the “Build Path” (right click on the project – Build Path – Configure Build Path). In the opened window you should go to the tab “Libraries” and then click “Add Library”. Select “Server Runtime – Apache Tomcat v7.0 – Finish”. Then on the “Project” menu make the action “Clean” and wait until the error disappears.
Before continuing to develop the site you should take into consideration some useful info about the structure of the project. The project is stored in multiple directories. Each of this directories has its own purpose:
Java Resources:
/src/main/java – a place to store Java-project classes.
/src/main/resources – here the configuration files are placed: struts.xml, log4j.xml, hibernate.cfg.xml.
Deployed Resources:
/src/main/webapp – a storage for web resources: javascript, css, images, view files *. jsp.
/src/main/webapp/WEB-INF/web.xml – a file descriptor of a web-project.
pom.xml – a file of Maven configuration. Here we will describe the project and its dependencies.
It’s time to configure Struts 2. It is an extensible framework for creating Java web-applications. It provides a set of ready-made solutions for mapping queries that undertakes all the routine work of processing the incoming requests and generating the responses on the basis of views.
First of all, you need to add Struts2 dependencies into the file “pom.xml”:
http://maven.apache.org
org.apache.struts
struts2-core
2.3.1.2
org.apache.struts.xwork
xwork-core
2.3.1
org.apache.struts
struts2-json-plugin
2.3.16
log4j
log4j
1.2.14
...
In this code snippet we inform the server that Struts 2 will control the request routing. Thereafter, all incoming requests to the server will be sent to the specified class, and this class will decide what to do next with them.
Now we need to configure the logging library log4j. To do this you should create a filesrc/main/resources/log4j.xml with the following content:
In this code snippet we inform the server that Struts 2 will control the request routing. Thereafter, all incoming requests to the server will be sent to the specified class, and this class will decide what to do next with them.
Now we need to configure the logging library log4j. To do this you should create a file src/main/resources/log4j.xml with the following content:
Everything is ready for an immediate configuration of Struts2 and routing. Let’s create the file src/main/resources/struts.xml:
/index.jsp
This file configures the routing of requests. In our case we pointed out that the request http://localhost:8080/MyApp/index or http://localhost:8080/MyApp/ will receive the content of a file index.jsp in response. The file index.jsp has the name “view” and contains the html-code of the page.
Moreover, there are more interesting ways of routing. For example, if you specify the name of the class and its method in the tag action, Struts 2 will try to find this method and call it. Depending on the result that is returned by this method you can use different views for successful and incorrect results.
Run the server and open the page http://localhost:8080/MyApp/index.action in your browser. If you see the same thing as I do, it means that you’ve done all the steps correctly.
Developing pages of the app and navigation between them
Struts 2 is configured and ready to use, so it is time to develop the front-end part of the application. We will use the library of UI components Webix to create the interface on the client side. Webix will allow you to create an interface based on the ready components in a short time.
Webix is very easy to learn. To start working with the library you should download the latest Webix version. Then unpack the archive and copy the codebase directory to the folder src/main/webapp/. After that you should update the project in Eclipse: File – Refresh, to help the web server see the new files.
Include Webix on the page index.jsp:
Webix uses a treelike object to describe the necessary interface. Each element of this object is called “view”. Every element will have its own characteristics which depend on the type of the view. Webix popular view types are toolbar, button, window, list and datatable. The complete list of all views can be found in the toc UI doc.
We should also pay attention to the “view: layout”. Firstly, this layout’s property is often omitted as it is always possible to recognize the layout component by the rows and cols properties. Each layout is either a row or a column which consists of several individual cells. You can build a layout of any type and configuration by using the nested layouts.
Example:
container:"layout_div",
rows:[
{template:"row 1"},
{template:"row 2"},
{ cols:[
{ template:"col 1" },
{ template:"col 2" },
{ template:"col 3" }
]}
]
});

In addition, layout sizes can be easily specified in pixels while other dimensions are counted automatically. You can use the following structure for a site with the fixed width of content and left/right margins:
container:"myapp",
cols: [{}, {
width: 1280,
template: "Your site is here"
}, {}]
});
In this case the width of the central container will be 1280 pixels and the width of the margins will be calculated automatically. The detailed information about the use of the component Layout can be found in the layout docs.
JavaScript-functions and CSS-styles which are common for all pages will be stored in the files src/main/webapp/codebase/myapp.js and src/main/webapp/codebase/myapp.css. For this purpose we will create these files and add the following rule to myapp.css:
width: 100%;
height: 100%;
margin: 0px;
padding: 0px;
overflow-x: hidden;
background-color: #580B1C;
}
#myapp {
width: 100%;
height: 100%;
}
Our site should include such standard elements as the header with logo, the main menu and photos, the footer with links and the central part with content. To add these elements you should make changes in the file index.jsp:
<script src="./codebase/webix.js" type="text/javascript" charset="utf-8"></script>
<script src="./codebase/myapp.js" type="text/javascript" charset="utf-8"></script>
<div id="myapp"></div>
<script type="text/javascript" charset="utf-8">
webix.ui({
container:"myapp",
cols: [{}, {
width: 1280,
rows: [
{ template: "header", height: 250 },
{ template: "content"},
{ template: "content", height: 30 }
]
}, {}]
});
</script>
To make a website unique you can change its style and color. Fortunately, Webix developers provide an easy to use tool Skin Builder. This tool allows you to choose the style that you like, change its colors, fonts and then download the result. I will use the color #74182C. If you want to use the same color then here’s a link to my customized style: //webix.com/skin-builder/78aa39e4

Download your style, unpack it and the files webix.css and webix.js. Next move all these files to the folder src/main/webapp /codebase. Don’t forget to update the project in Eclipse.
Now let’s create the header. For this purpose you should expand the webix configuration in the file index.jsp:
<div id="myapp"></div>
<div id="header" style="display: none;">
<div class="confname">Front-End
Events</div>
<div class="confdsc">All events on web development are here!</div>
</div>
<script type="text/javascript" charset="utf-8">
var imgTemplate = function(obj){
return '<img src="'+obj.src+'" class="content" ondragstart="return false"/>'
};
webix.ui({
container:"myapp",
cols: [{}, {
width: 1280,
rows: [
{
height: 250,
borderless:true,
cols: [{
rows: [
{ view: "template", template: "html->header", css: "header", borderless: true},
{ cols: [
{},
{ view:"toolbar", height: 40, borderless:true, cols:[
{view:"segmented", multiview:false, value:1, width: 600, options:[
{ id:"upcoming", value:"Upcoming events" },
{ id:"contacts", value:"Contacts" }
], on: {
'onChange': function(newValue, oldValue){
window.location.href = newValue;
}
}, value:"upcoming" }
]},
{}
]}
]},
{ rows: [
{ height: 10},
{
view:"carousel",
id:"carousel",
width:410,
height: 230,
borderless: true,
cols:[
{ css: "image", template:imgTemplate, data:{src:"photos/photo1.jpg"} },
{ css: "image", template:imgTemplate, data:{src:"photos/photo2.jpg"} },
{ css: "image", template:imgTemplate, data:{src:"photos/photo3.jpg"} },
{ css: "image", template:imgTemplate, data:{src:"photos/photo4.jpg"} },
{ css: "image", template:imgTemplate, data:{src:"photos/photo5.jpg"} },
{ css: "image", template:imgTemplate, data:{src:"photos/photo6.jpg"} }
]
},
{}
]}
]
},
{ template: "content"},
{ template: "footer", height: 30 }
]
}, {}]
});
</script>
Here we split the top cell into two columns. In the left column we will display the logo and the menu while in the right column photos from events will be shown. To create the menu we will use the toolbar item with a segmented button. For photos section a carousel which will contain pictures will be used. Photos must be precut to the sizes 400*220 and saved in the folder src/main/webapp/photos/.
Also in the above code we’ve added the main menu with the help of the segmented button. To navigate between the pages the handler of the onChange event was added to the element (the button of the “segmented” type). This event will fire when a user changes the selected value. In this case we need to go to the selected page:
window.location.href = newValue;
}
Let’s also add a few CSS code into the file myapp.css:
padding: 10px;
box-sizing: border-box;
background-color: #580B1C;
color: #ffffff;
}
.confname {
font-size: 62px;
float: left;
width: 450px;
}
.confdsc {
font-size: 13px;
margin: 10px 0px;
width: 800px;
float: left;
}
Start the server, open the page http://localhost:8080/MyApp/index.action in your browser. If you see something similar to the screenshot below, it means that you’ve made all the steps correctly!

Now let’s add the footer to our website. To add it you should replace the configuration {template: “footer”, height: 30} in the file index.jsp with the following code:
height: 30,
paddingY: 6,
cols: [
{},
{
template: "html->footer",
css: "footer",
borderless: true,
width: 160
}, {
}]
}
Add an html-container with the code below to the index.jsp file to build the footer:
<ul>
<li><a href="upcoming">Home</a></li>
<li><a href="contacts">Contacts</a></li>
</ul>
</div>
Into the file myapp.css we should add the code given below to decorate the footer:
background-color: #580B1C;
color: #ffffff;
}
.footer ul {
margin: 3px;
padding: 0px
}
.footer ul li {
display: inline;
padding-right: 14px;
list-style-type: none;
}
.footer ul li a {
color: #ffffff;
text-decoration: none;
}
.footer ul li a:hover {
text-decoration: underline;
}
Start the server and open http://localhost:8080/MyApp/index.action in a browser. Now we have all the necessary things in our website except for the content.

The site will have multiple pages. Each page will use the same code snippets for the header, the footer and the main menu. It means that we need to put these snippets into separate files and functions to reuse this code on other pages.
– the html-code of the header and the footer we will place into the appropriate files:
src/main/webapp/header.jsp:
<div id="header" style="display: none;">
<div class="confname">Front-End
Events</div>
<div class="confdsc">All events on web development are here!</div>
</div>
src/main/webapp/footer.jsp:
<div id="footer" style="display: none;">
<ul>
<li><a href="upcoming">Home</a></li>
<li><a href="contacts">Contacts</a></li>
</ul>
</div>
– into the file myapp.js we will add the functions that return the configuration of the footer, photo gallery and of the main menu:
src/main/webapp/codebase/myapp.js:
return { cols: [{}, { view:"toolbar", height: 40, borderless:true, cols:[
{view:"segmented", multiview:false, value:1, width: 600, options:[
{ id:"upcoming", value:"Upcoming events" },
{ id:"contacts", value:"Contacts" }
], on: {
'onChange': function(newValue, oldValue){
window.location.href = newValue;
}
}, value: selectedValue }
]}, {}] };
}
function getFooter() {
return {
height: 30,
paddingY: 6,
cols: [
{},
{
template: "html->footer",
css: "footer",
borderless: true,
width: 160
},
{}
]
};
}
function getPhotos() {
var imgTemplate = function(obj){
return '<img class="content" src="'+obj.src+'" />'
};
return { rows: [
{ height: 10},
{
view:"carousel",
id:"carousel",
width:410,
height: 230,
borderless: true,
cols:[
{ css:"image", template:imgTemplate, data:{src:"photos/photo1.jpg"}},
{ css:"image", template:imgTemplate, data:{src:"photos/photo2.jpg"}},
{ css:"image", template:imgTemplate, data:{src:"photos/photo3.jpg"}},
{ css:"image", template:imgTemplate, data:{src:"photos/photo4.jpg"}},
{ css:"image", template:imgTemplate, data:{src:"photos/photo5.jpg"}},
{ css:"image", template:imgTemplate, data:{src:"photos/photo6.jpg"}}
]
},
{}
]};
}
Now the index.jsp page can be transformed as follows:
<script src="./codebase/webix.js" type="text/javascript" charset="utf-8"></script>
<script src="./codebase/myapp.js" type="text/javascript" charset="utf-8"></script>
<div id="myapp"></div>
<script type="text/javascript" charset="utf-8">
webix.ui({
container:"myapp",
cols: [{}, {
width: 1280,
rows: [
{
height: 250,
borderless:true,
cols: [{
rows: [
{ view: "template", template: "html->header", css: "header", borderless: true},
getTopMenu("upcoming")
]},
getPhotos()
]
},
{ template: "content"},
getFooter()
]
}, {}]
});
</script>
Thus, due to the use of Webix and Java-framework Struts 2 we’ve managed to quickly build a website with a user-friendly navigation between several pages. We’ve also easily added the footer, the header, a photo gallery and the main menu on the website pages. For creating a unique website style we’ve used an online Webix tool Skin Builder.
At the moment we’ve got a working site but without content. You will learn how to add content to the site from the second part of our tutorial.
It should be mentioned that Webix can be easily customized according to your requirements and can be effortlessly integrated with other libraries and various technologies. Webix library allows you to reveal your creativity in web development to the full extent.


