WEBIX JAVASCRIPT LIBRARY BLOG

UI development best practices, front-end programming tips and news to speed up your Web development.

Follow us:

Write for us: learn about our guest posts guidelines.

Dynamic Loading. Fetching Unlimited Number of Records from Server Side

Hi everybody. Today we will be speaking about Webix ways to optimize server-client communication in case of huge data. Those of you who are happy to fetch long datasets at once, please raise your hands!

Webix dynamic loading


Just as I’ve expected, nobody’s here.  Everybody has gone to dynamic loading which is implemented very easily with Webix data components.

webix.ui({
  view:"datatable", url:"mydata.php", datafetch:100
});

Initially, a limited number of records (e.g. 100) is loaded, while further requests are triggered by scrolling or paging automatically. Guys, isn’t it nice?

Still, such a pattern requires quite a specific format of a server response –  {data:[ /*array of records*/], pos:0, total_count:100  } – and you may ask yourself: “So what should I do, if I cannot tune the response or I don’t know the total length of server-side data?” Indeed, there are lots of web services that do not provide such information.

The article below shows the solution that relies totally on Webix public API and can be built by any of you.
The Webix way of positioning: how to put everything in its right place

Day by day Webix evolves and dozens of new features appear with every release. But while the framework is constantly improved, something always stays the same.

Let’s talk about the very basic and the most important Webix feature – component positioning and sizing.

1_form_initial

Live demo

Layout. Basics.

The main Webix way of the element positioning is dividing the page into rows and columns.

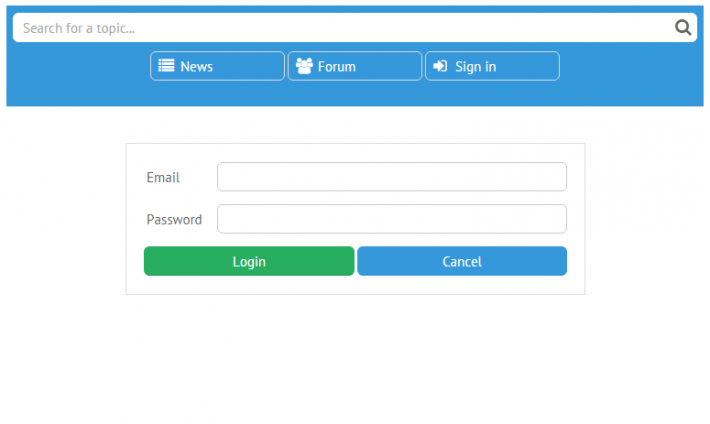
The basic layout can  be created with the help of the same-name Layout widget. And you can place any of the numerous Webix widgets into any Layout cell:

Oscar for DiCaprio – Visual Designer for you!

Hey guys!

It is the last month of the winter and only 25 days are left before Oscar, the main American awards ceremony.

We could not pass by such an event. And if you hope and believe, the same as we do, that Leonardo DiCaprio, not the bear, will get the Oscar, click “Like” and “Share”.

Visual designer


At the end of the month, in case this talented actor wins, all participants will get an annual access to the PRO edition of our Visual Designer, which is scheduled for release exactly at the end of February.

Navigate your way. Sidebar and Sidemenu

Hey guys, let us check today what Webix offers to make our lives easier during app navigation. I bet that there’s something worth a closer look.

Since the launch of the library its users had a standard Menu at their disposal with the possibility of  placing items horizontally or vertically (too simple). But not very long time ago the developers went further and ended up with two handsome widgets created with user-friendly navigation in mind – Sidemenu and Sidebar.

So, let’s explore the widgets’ functionality to find out the use cases that are more suitable for each of them.

Basically, Sidebar can be initialized on the page with the following code:

webix.ui({
      view: "sidebar",
      data: [
           {id: "dashboard", icon: "dashboard", value: "Dashboards",  data:[
               { id: "dashboard1", value: "Dashboard 1"},
               { id: "dashboard2", value: "Dashboard 2"}
        ]},
         ...
        ]
});

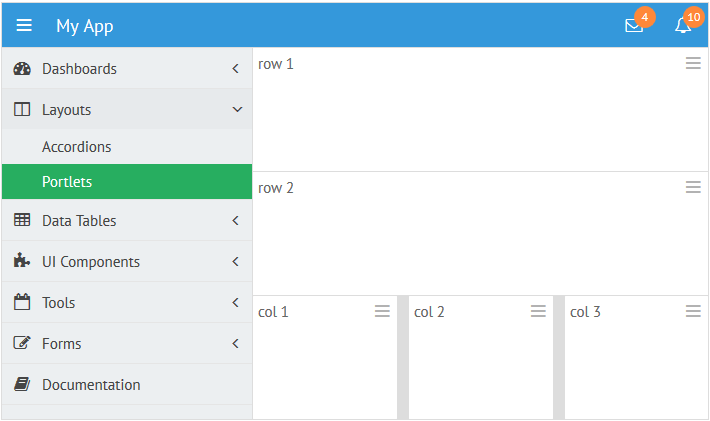
And you get: 

sidebar

Live demo

Complex Content in DataTable

JavaScript Table is the most popular widget of Webix UI framework. It is fast, flexible and can be used in many different scenarios. By default, it shows only a text content in its cells. Nevertheless, you can use cell templating to show a more complex content in the cells of DataTable. Icons, buttons, and even other widgets can be used as cell templates.

Let’s look how it can be done.

Checkbox and Radio buttons

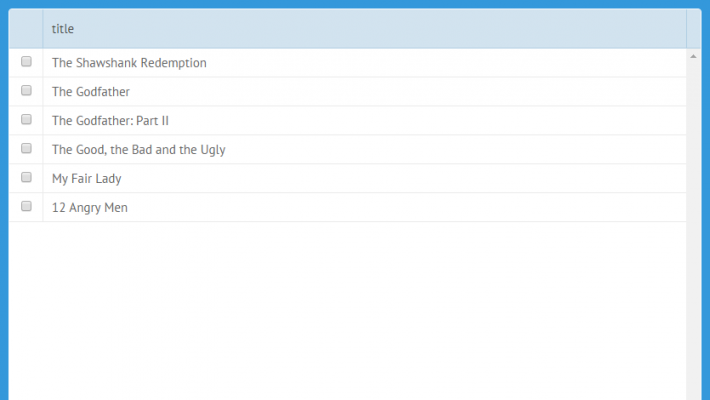
The most common use-case is the adding of a checkbox into a cell of a DataTable. It is so common, that we have added a ready-to-use shortcut. Just write the cell template as follows:

template:"{common.checkbox()}"

and you will get a fully-functional checkbox input.

DataTable

1 10 11 12 13 14 19